PATTERN
DIY Simple Floor Length Wedding Veil Pattern PDF Tutorial
DIY Simple Floor Length Wedding Veil Pattern PDF Tutorial
Couldn't load pickup availability
Share
I understand that it can be overwhelming trying to plan all the details of your wedding and to do so within budget. That’s why I have put together this easy-to-follow, do-it-yourself PDF pattern that will teach you how to make your wedding veil so that you walk down the aisle looking elegant and feeling special without breaking the bank.
Skill Level: This pattern requires NO sewing machine and NO previous experience with sewing. It is meant for beginners.
Details of the Veil that you will Make:
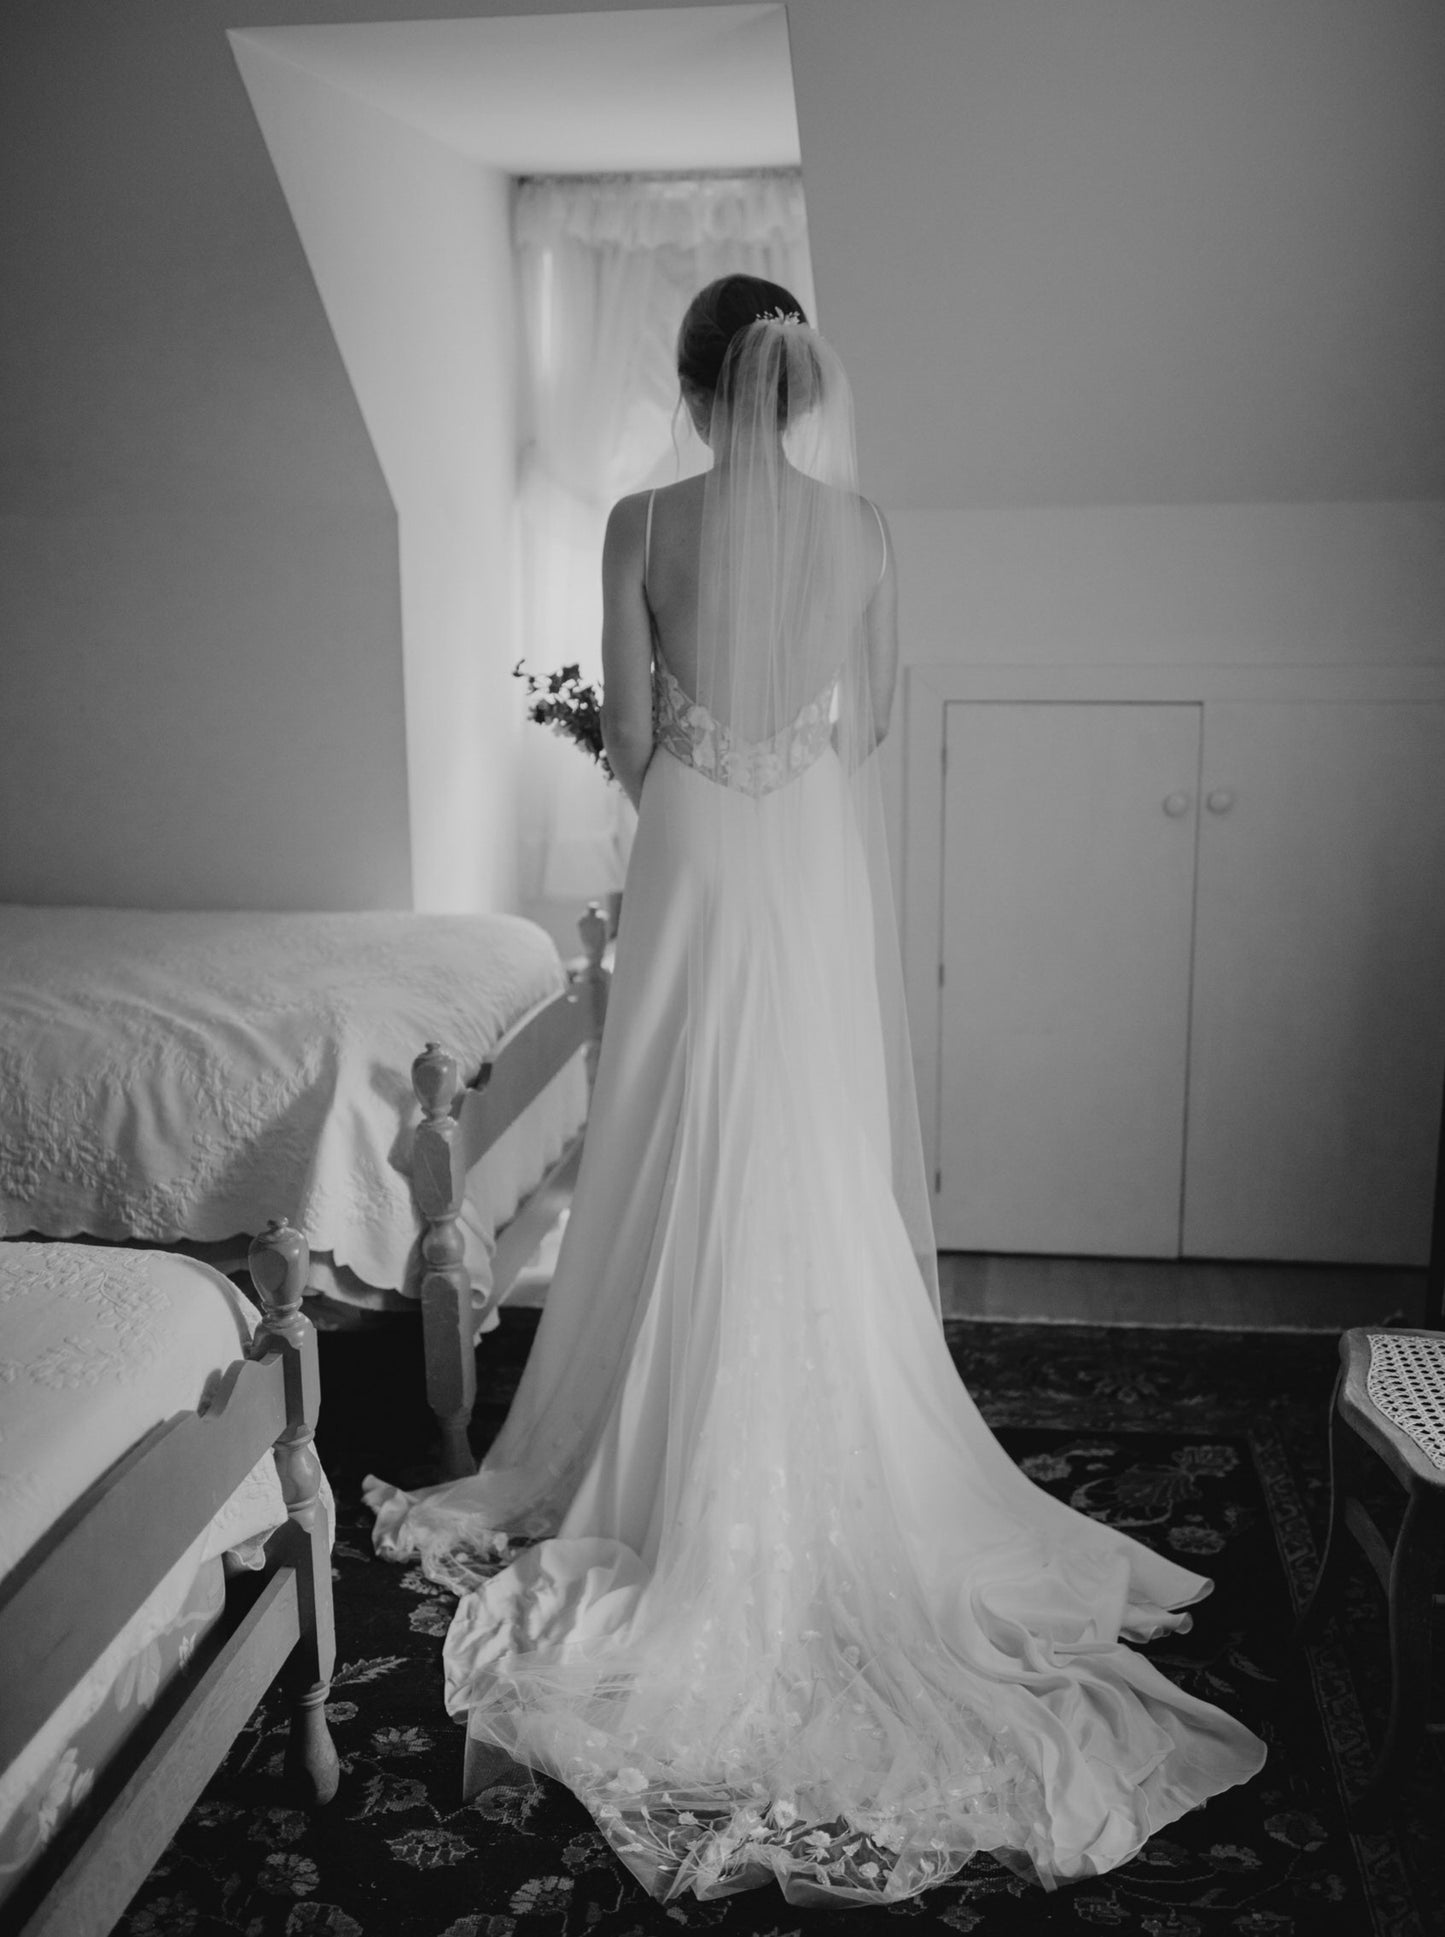
- floor length veil
- raw edge (without a trim) so that you and your dress remain center stage
- attached to metal hair comb
You aren't the DIY type of bride? Then you can purchase the completed wedding veil already made up HERE.
What is Included?
What is Included?
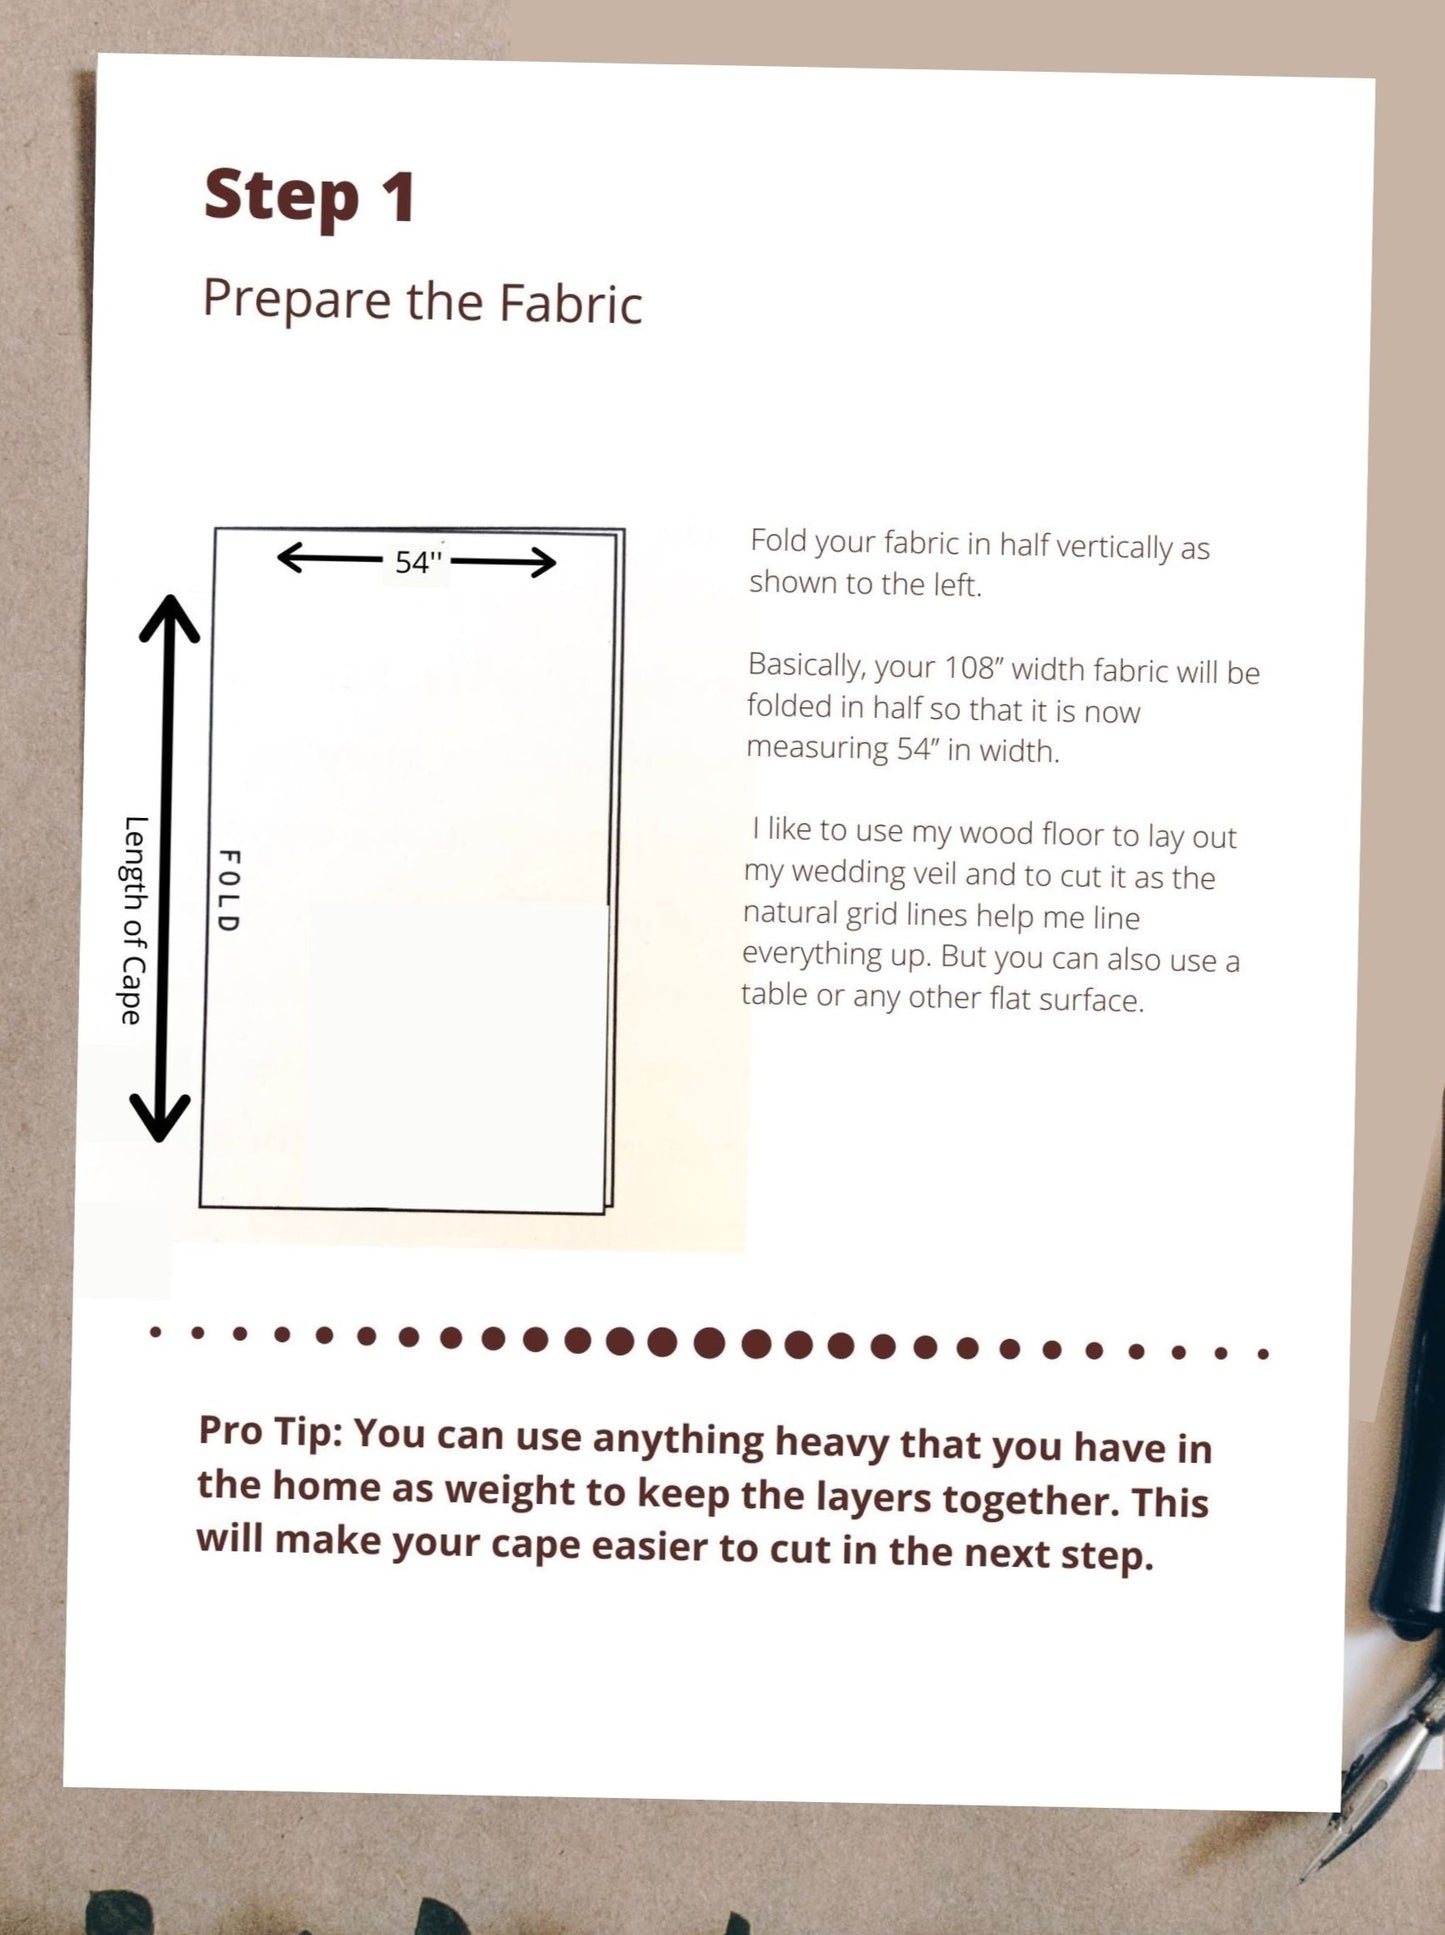
• a PDF tutorial with color photos and a simple 5 step process so that you have a no-stress experience
• measuring instructions so that it is the perfect size for you
• designer's contact details so that you can reach out with questions or for styling help
• 100% money back guarantee if you are not satisfied
• a fun and exciting experience you can share with your loved ones
• Video tutorials to help guide through the trickiest parts (if you choose “Pattern + Video Tutorials” or “Complete Material Kit” Style upon Check-out)
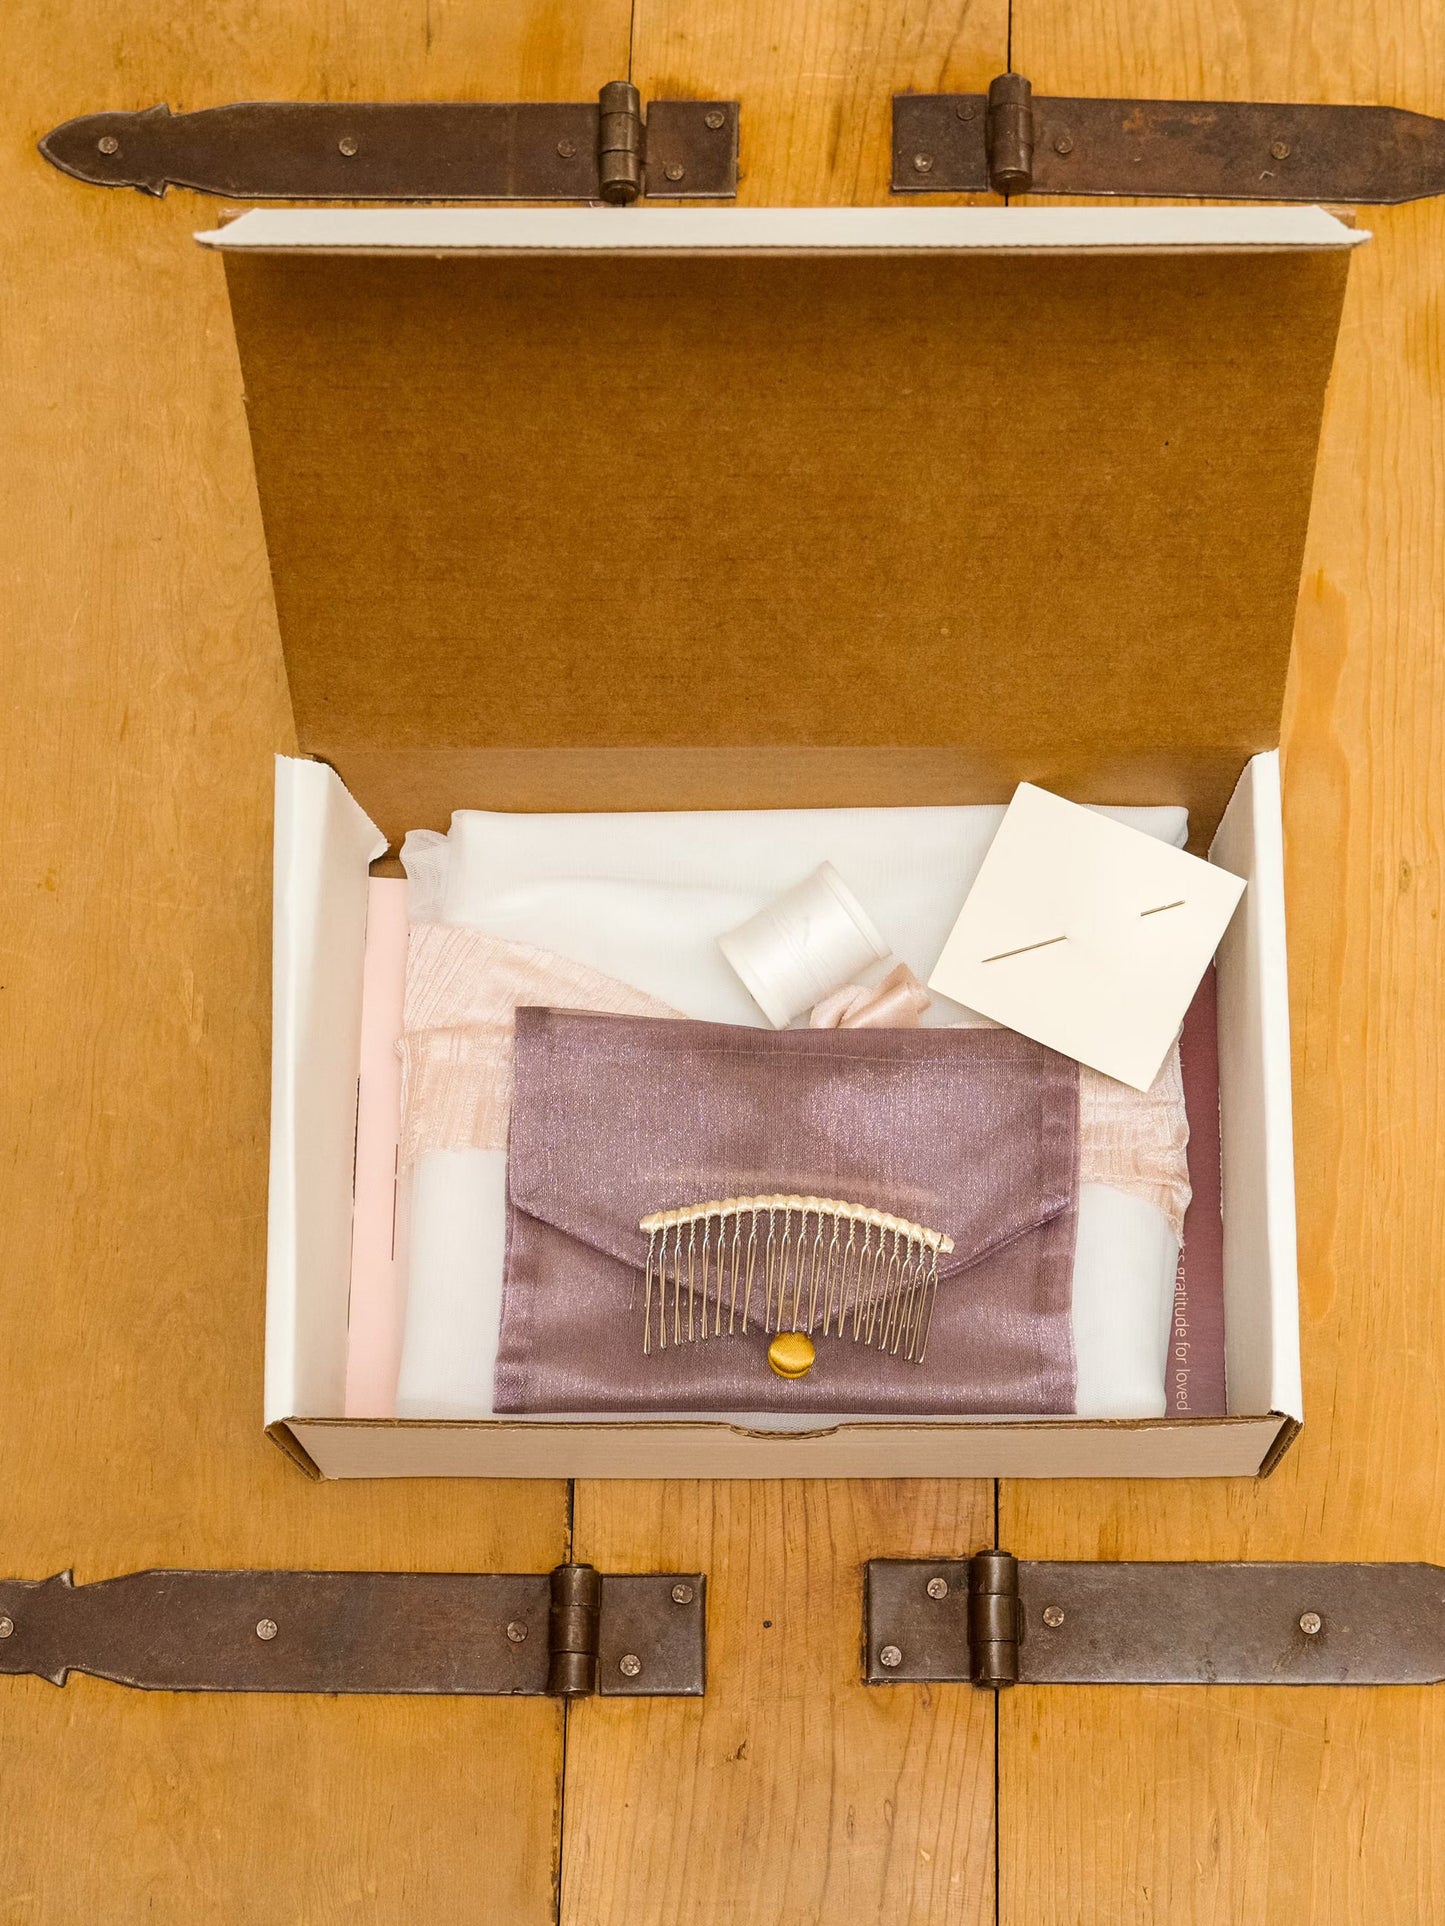
• Complete Material Kit shipped to you with everything you need (if you choose “Complete Material Kit” Style upon Check-out)
Materials Needed
Materials Needed
50''- 70'' of Tulle or other fabric that is 54’’ in width, 3’’ Metal Hair Comb, Invisible Nylon Sewing thread, Sewing scissors, Measuring tape or ruler, Hand sewing needles
Not sure if this pattern is right for you? Ask yourself these 3 Questions before getting started designing your own.
Dimensions
Dimensions
Customizable based on your measurements.
Care information
Care information
In order to get the wrinkles out you can either have the veil steamed (they can do this at alteration shops or you can with a handheld steamer), or you can hang it up in a steamy bathroom, and the weight of the accessory will naturally take out the wrinkles within 4-5 days. No ironing.
I recommend storing it in a cool dry place, such as under your bed or in the closet. My preferred method of storing is to fold it over a hanger lengthwise and to place it within a protective garment bag. You can then keep your accessory in this garment bag as you transport it to and from dress fittings, hair trials and rehearsals.
Delivery
Delivery
Instant Delivery via e-mail. PDF Download.
Measuring Guide
Measuring Guide
Typical Veil Lengths
Blusher / Shoulder Length / Flyaway Veil: touches the shoulders or just covers your face
- Typically 15’’ or so
Elbow Length Veil: just reaches your elbows when your arms are down at your sides
- Typically 20-25’’
Fingertip Length: reaches the fingertips when your arms are at your sides
- Typically 35-40’’
Ballet Length / Waltz Length: reaches your knees or mid-calf
- Typically 45-50’’
Chapel Length: brushes the floor or extends a bit past the floor
- Typically 80-90’’
Cathedral Length: extends several feet past the train of your wedding dress
- Typically 108’’
Royal Length: the longer the better! This is the veil of the royals.
- Start at 120’’ and can go as long as 200’’+
How to Measure for your Veil
Veil measurements can vary depending on your height and your wedding dress.
If it is possible, you should probably take a quick veil measurement (this does not have to be taken while wearing your wedding gown) so that you can make sure that the veil hits exactly where you would like. Take a piece of string (that does not stretch) or a flexible measuring tape, and measure from where the veil will be attached in your hair down to the tip of approximately where you would like the veil to end at the longest point at the back. This measurement does not have to be exact. It just gives me a basic idea of how long you would like your veil to be.
It is always better to have your veil be slightly longer rather than shorter. So if you are unsure, it is best to add an additional 1-2 inches to your measurement.

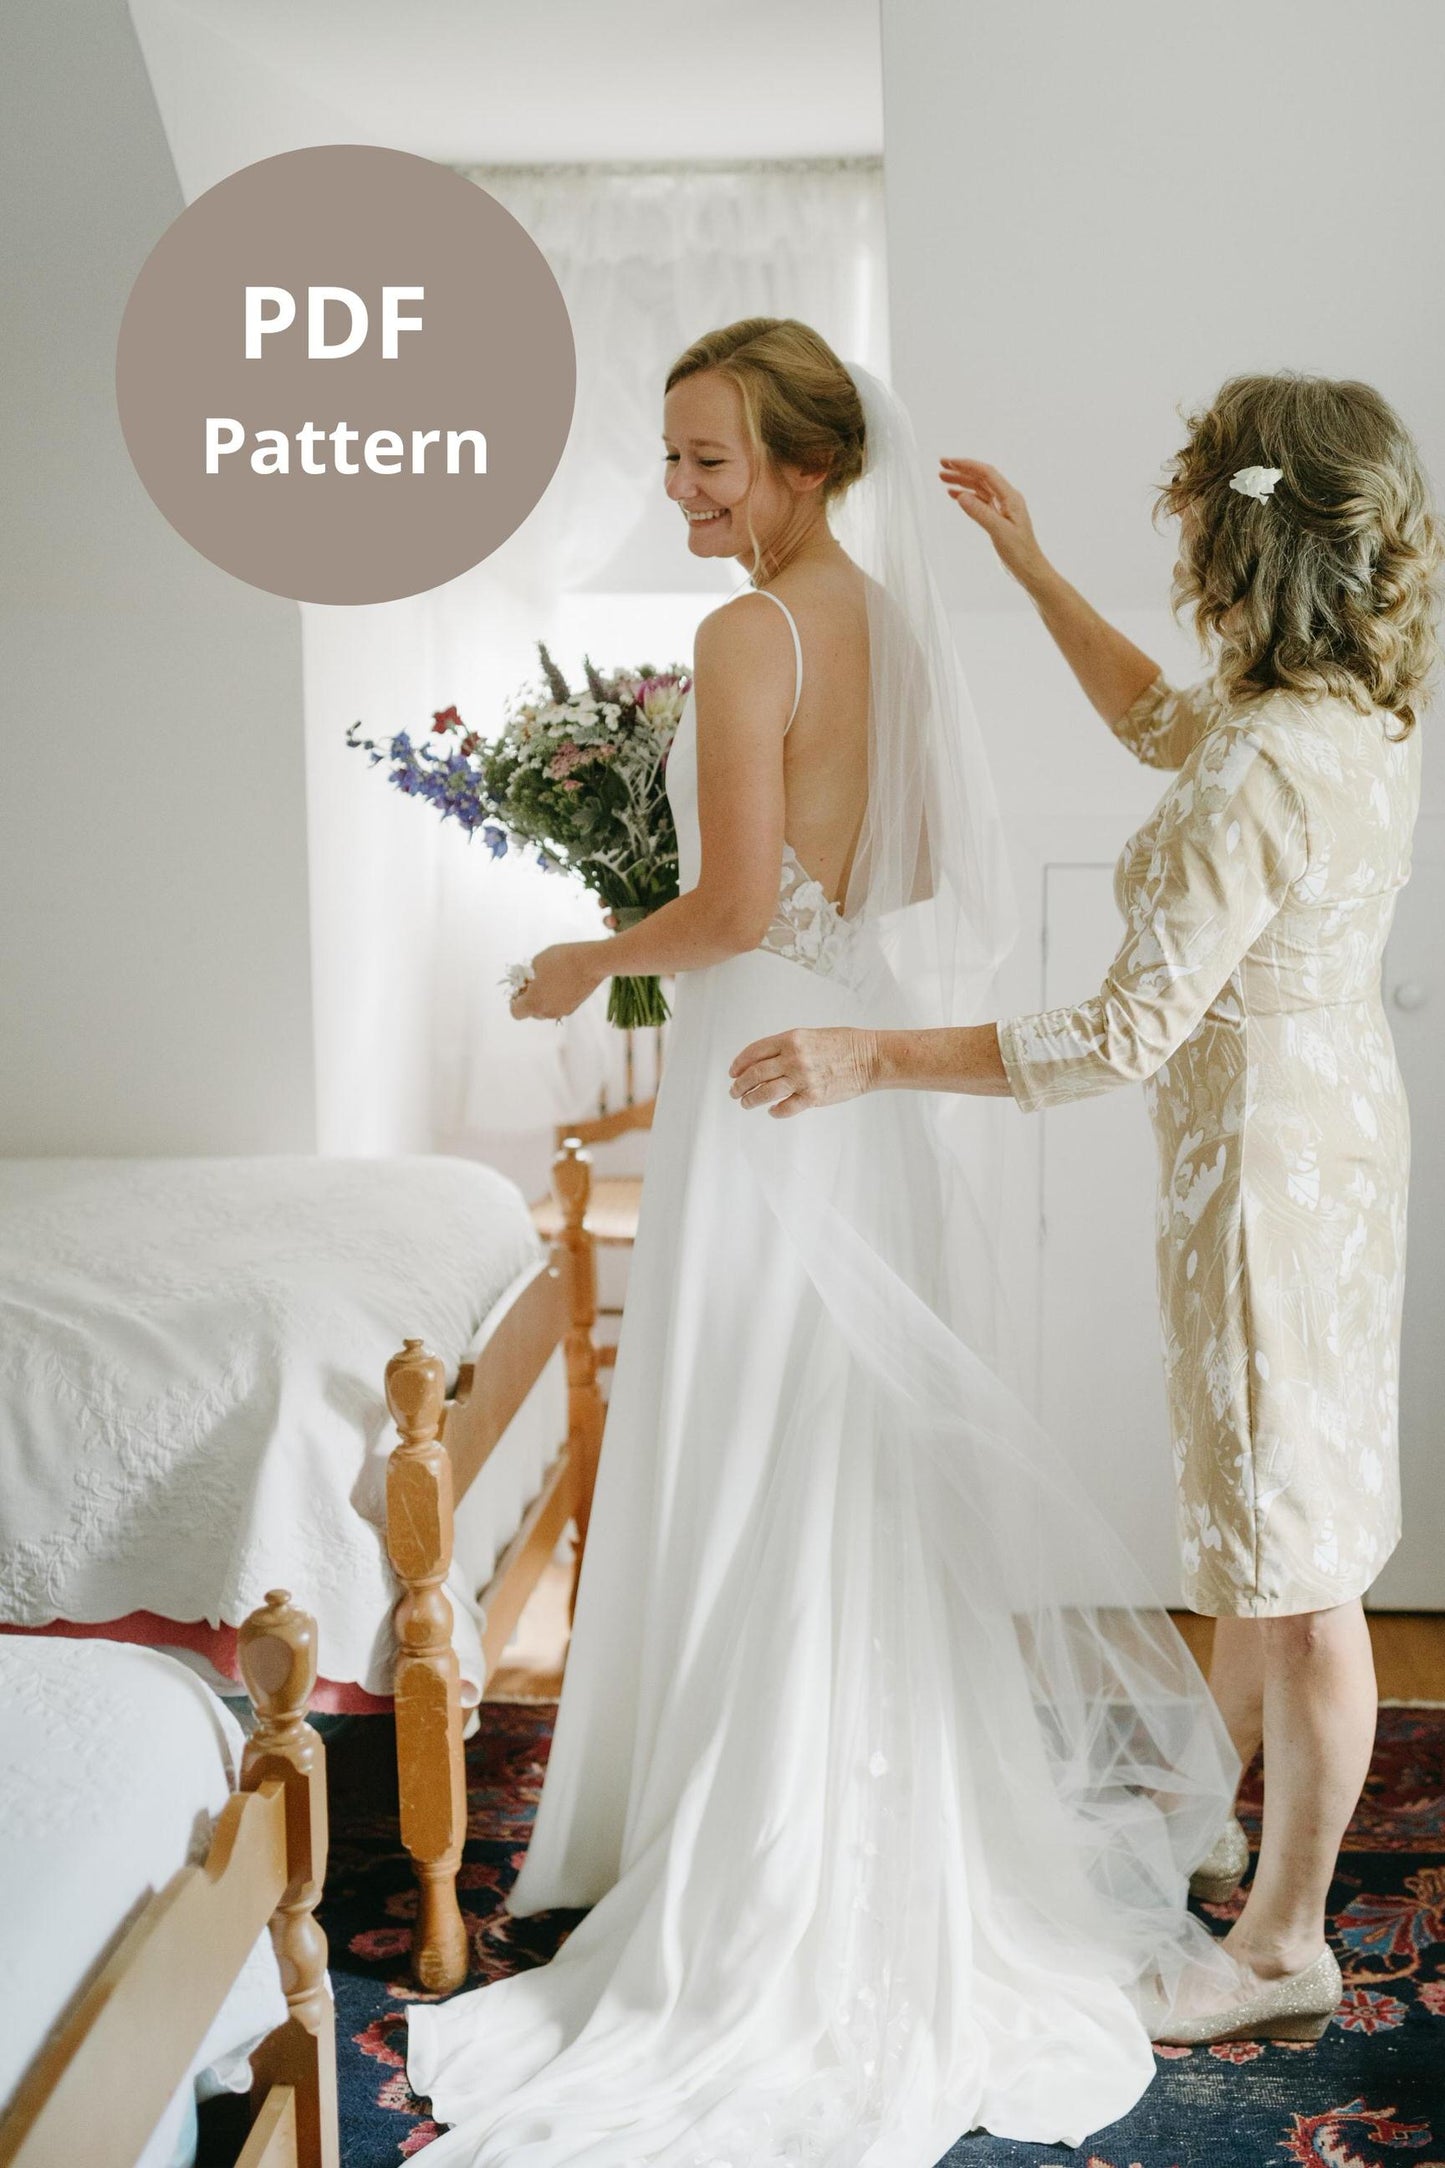
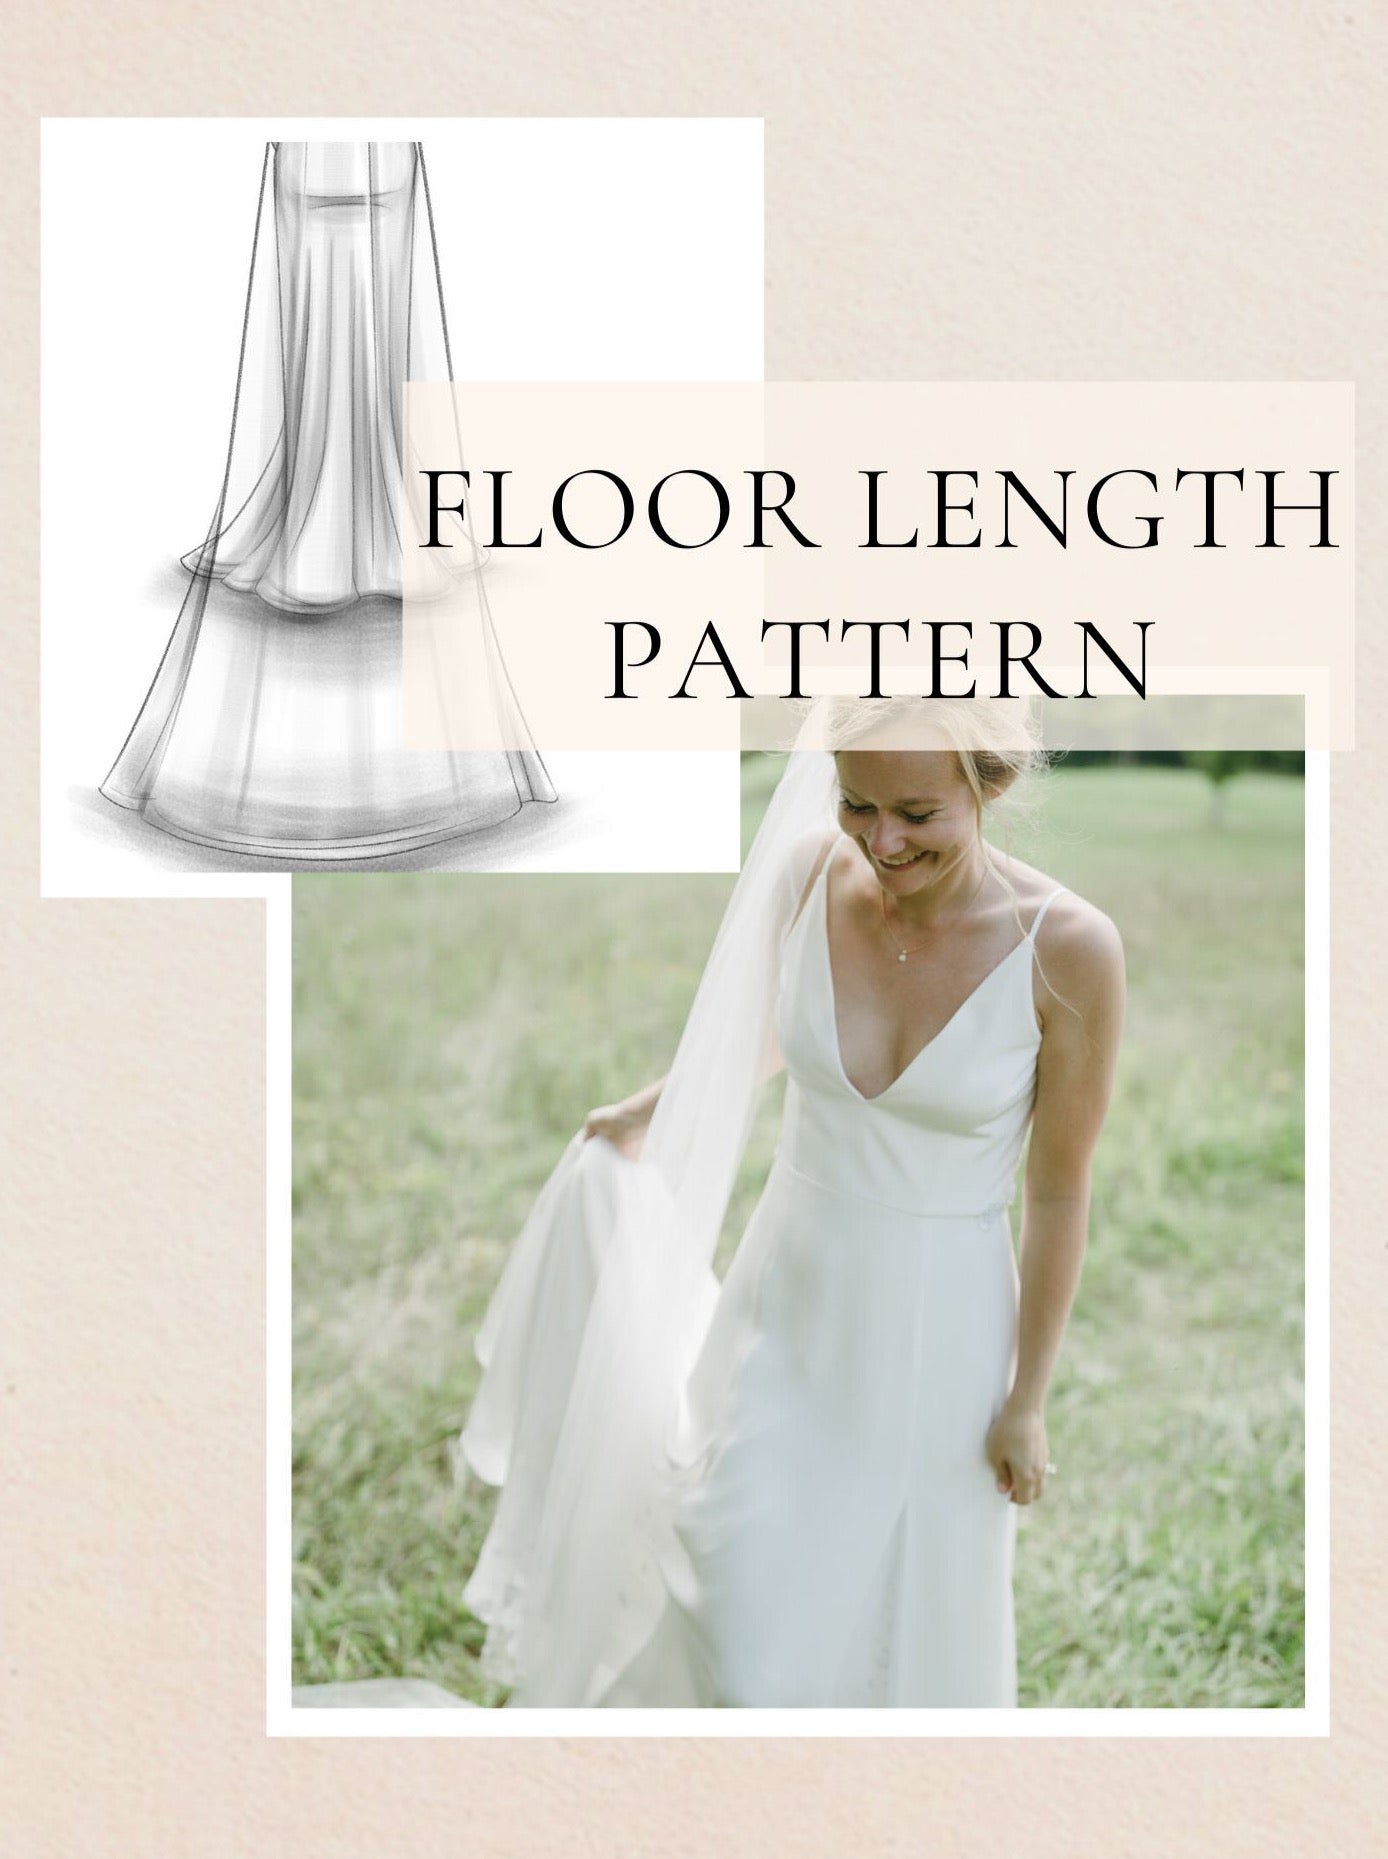
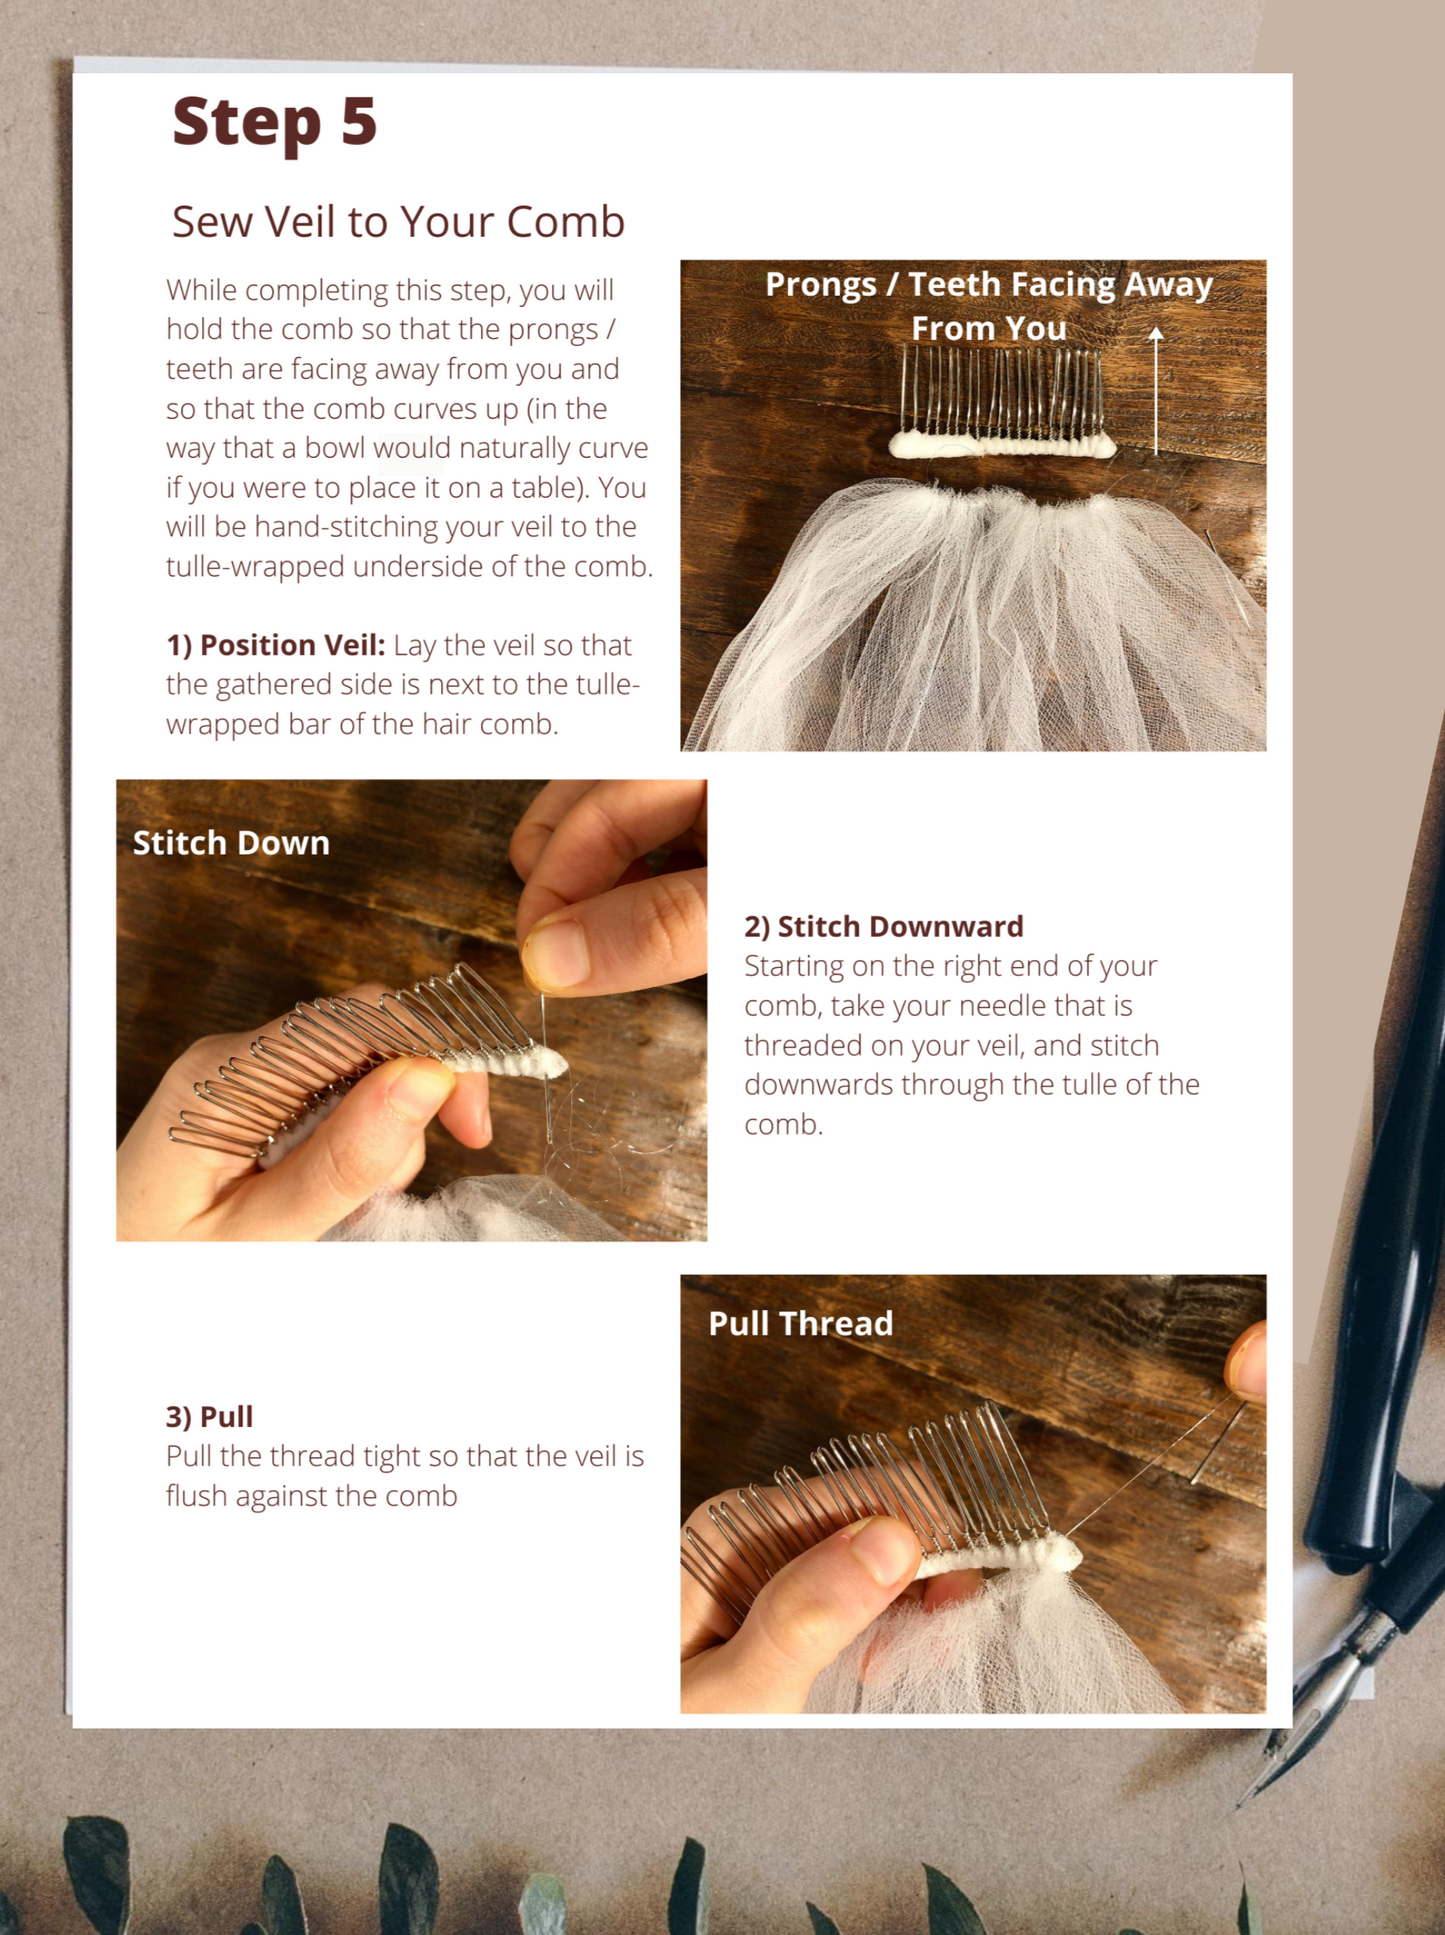

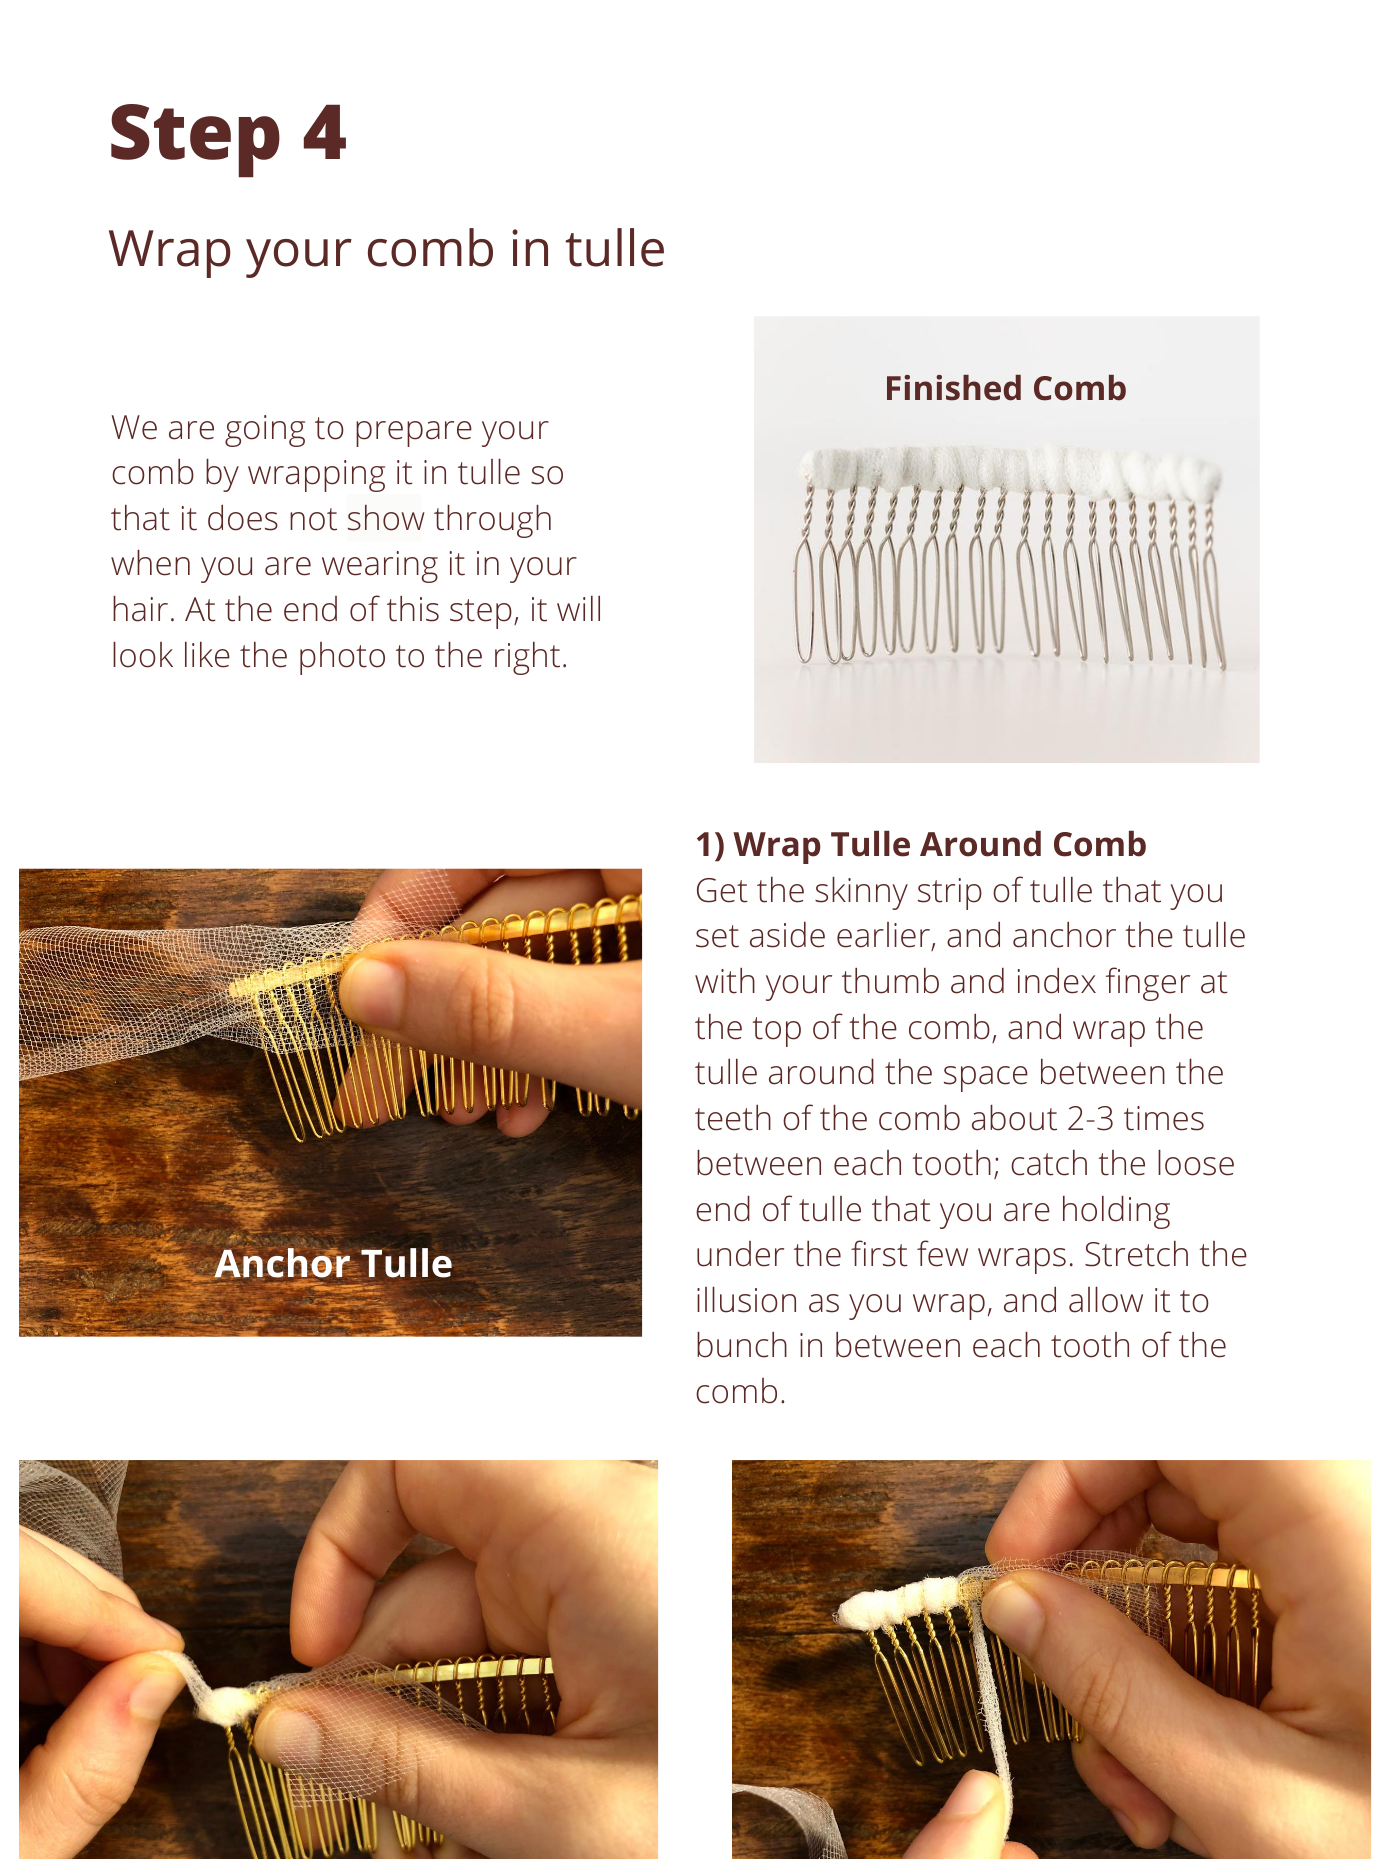
DIY Your Veil: Fun Wedding Activity with Loved Ones that Saves Money
3 Options
-

Pattern Only
Buy for $9.99Most Budget Friendly
An instant downloadable PDF tutorial with photos and a simple 5 step process so that you have a no-stress experience.
-

Pattern + Video Tutorials
Buy for $39.99Most Popular
Brides love the exclusive video tutorials to help guide through the most challenging parts of the process.
-

Pattern, Video Tutorial + Complete Materials Kit
Buy for $99.99Most Loved for Brides with Decision-Fatigue
Get the fabric kit shipped to you with everything you need.
What is the Complete Material Kit?
Confused about Veils?
Grab your free Veil Style Guide so you don't worry if you will regret you wedding day look 10 years from now.


